
If you have ever picked up a dumbbell, done a handful of reps, and then quietly wondered if you just tweaked something in your shoulder, you are not alone. A lot of women over 40 feel confident starting a walking routine or a stretch class, but strength training with actual weights brings up a different kind of nervousness. There is no trainer in the room checking your elbow angle, and an old knee or shoulder issue makes every new movement feel like a bit of a gamble.
This guide is about how to start lifting weights at home safely while you build that confidence. We are not covering full routines here or how to stay motivated, just the practical, physical side of starting to lift weights at home without hurting yourself.
Why starting weight matters more than starting hard
The biggest mistake isn’t choosing a weight that’s too light. It’s choosing one that’s too heavy because it feels like “nothing” for the first two reps.
Your muscles can often handle more than your joints, tendons, and connective tissue are ready for, especially if you haven’t done regular resistance work in a while. Tendons and ligaments adapt more slowly than muscle does. So a weight that feels manageable for your biceps on day one can still put stress on a shoulder or elbow that hasn’t been asked to stabilize that kind of load in years.
Starting lighter than you think you need to isn’t about being overly cautious. It’s about giving your joints a few weeks to catch up to what your muscles can already do. You can always add weight next week. You can’t undo a strained tendon that quickly.
The warm up that protects your joints before you touch a dumbbell
A warm up before strength training isn’t the same as a cardio warm up. The goal is to move the specific joints you’re about to load, through the specific ranges you’re about to use, so blood flow increases and the joint has a chance to “practice” the motion without resistance first.
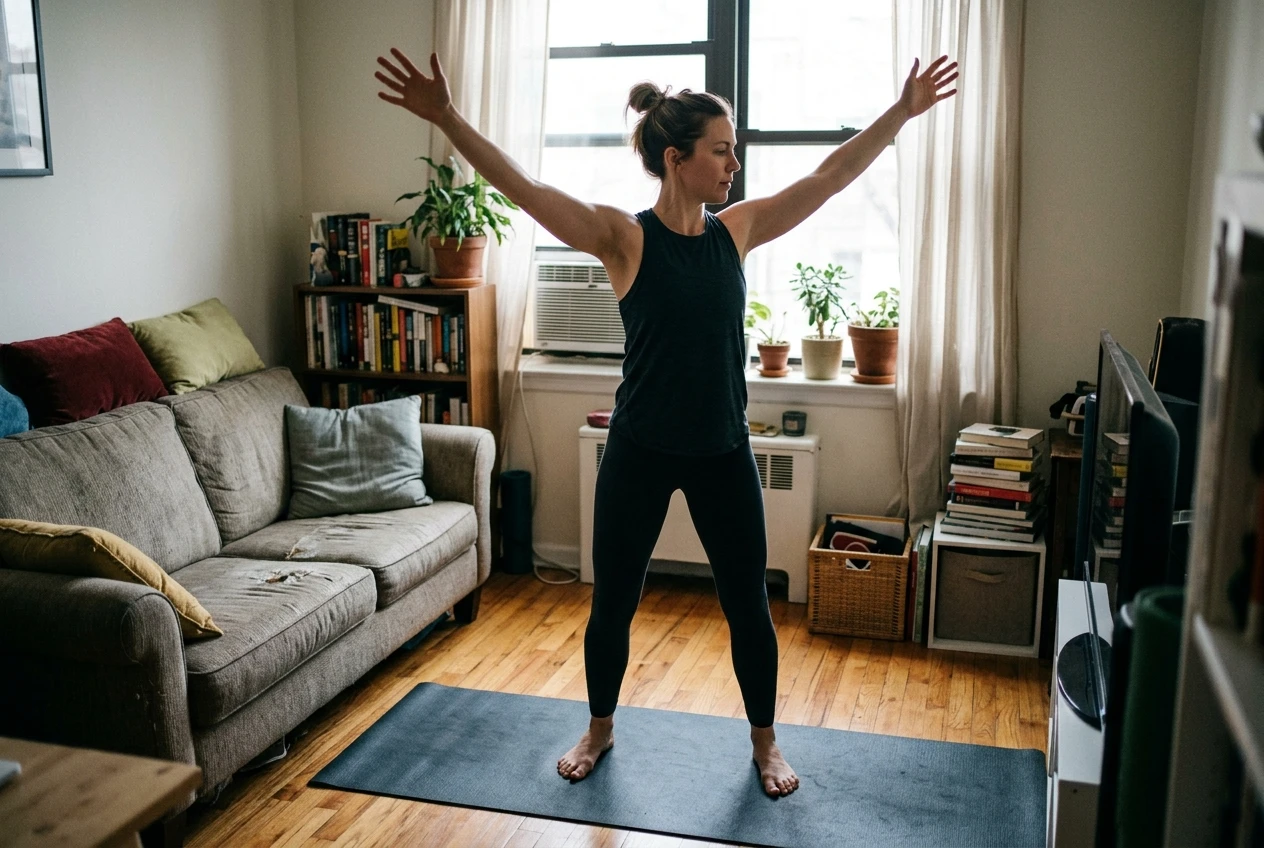
Before picking up any weight, spend three to five minutes on:
- Arm circles, both directions, small to large
- Shoulder rolls, forward and back
- Body-weight squats, slow and controlled
- Gentle torso twists, standing with feet planted
- Wrist circles and a few slow wrist flexes, especially if you’ll be doing any pressing movements
If you have a specific joint history, whether that’s a shoulder that clicks, a knee that’s been cranky, or a wrist that’s sensitive, give that joint extra, gentle attention. Move it through its comfortable range a few extra times before you add any load at all. This is also a good moment to check in with the 10 minute stretch routine, which works well after your session too, for the same joints you’ve just worked.
Choosing your first weights: how light is actually too light
A common worry is picking weights too light to “count.” Here’s a simple way to check: by the last two reps of a set of 10 to 12, the movement should feel noticeably harder than the first two, but you should still be able to complete it with good form.
If you can do 15 or 20 reps without any real effort, the weight is too light to build strength, though it’s still useful for practicing form. If you can’t complete 8 reps with controlled form, or your form breaks down noticeably by rep 6 or 7, the weight is too heavy for right now.
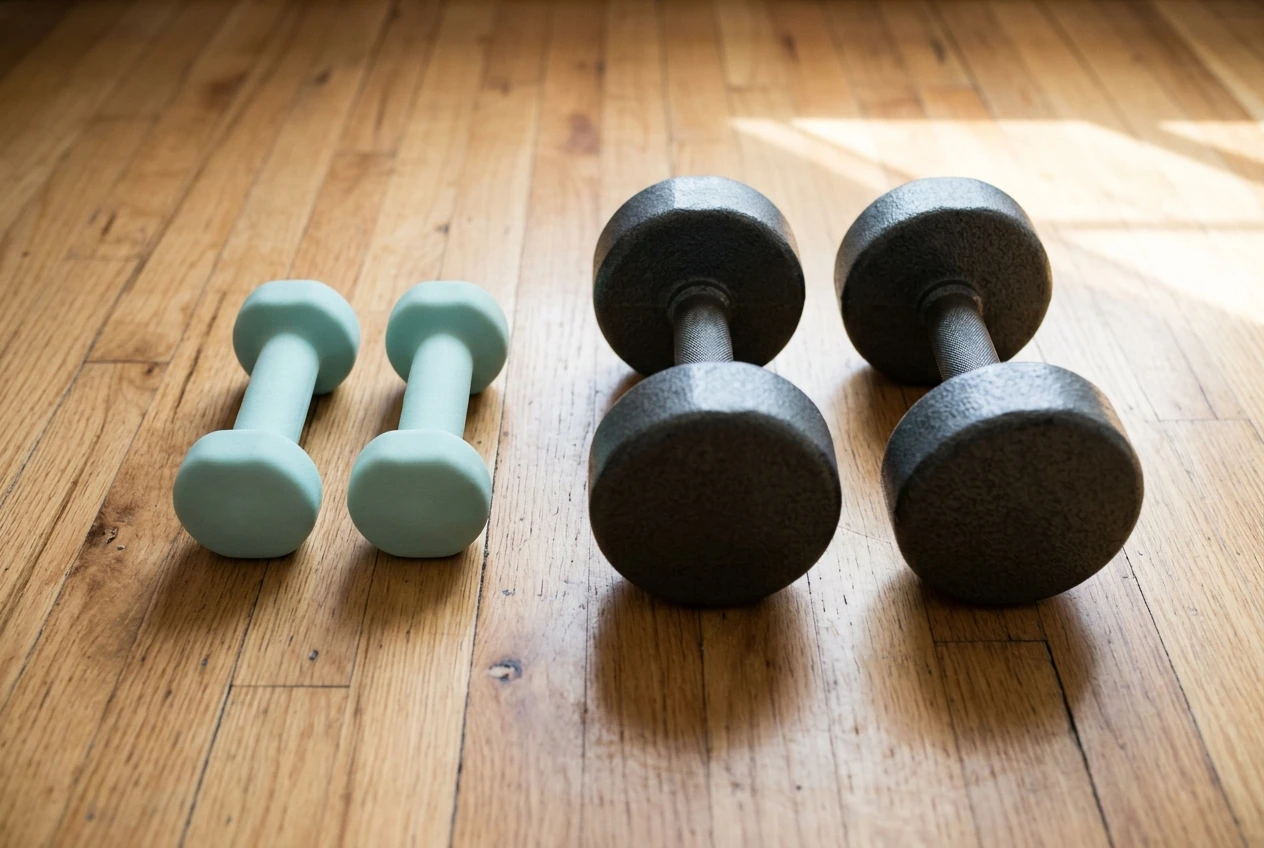
For most women starting out at home, a pair of light dumbbells (often somewhere in the 2 to 5 pound range) and a slightly heavier pair (perhaps 5 to 10 pounds) is enough to cover most beginner movements, letting you match the weight to the exercise. A bicep curl and a shoulder press do not use the same muscles, and they should not use the same weight. If you’re unsure exactly what to buy, this guide to home workout gear walks through dumbbell choices suited to a beginner setup.
Form checkpoints you can self monitor without a mirror or trainer
You don’t need a mirror or a second person to catch most form problems. You need to know what to feel for.
- Your joints shouldn’t “lock out” hard. At the top of a press or the bottom of a squat, keep a soft bend rather than snapping the joint straight. A locked joint under load is a joint taking the full force of that load with no muscle to buffer it.
- Your breath should move with the exercise, not hold against it. Exhale on the effort part of the movement (pressing up, lifting), inhale on the release. If you notice you’re holding your breath through a rep, that’s often a sign the weight is too heavy for controlled movement.
- Your wrists should stay in a straight line with your forearm, not bent back or curled under. A bent wrist under load is one of the most common ways beginners develop wrist strain.
- Your shoulders should stay down, away from your ears, throughout pressing and lifting movements. If you catch your shoulders creeping up toward your ears mid-set, that’s a sign of either too much weight or fatigue setting in.
- Your lower back should stay in its natural curve, not rounding or arching hard, during standing or bent-over movements. If you feel your lower back doing the work instead of your target muscle, stop and reset your position.
Doing a slow, light “practice rep” with no weight at all, right before your working set, gives you a chance to feel the correct pattern before you add resistance. This matters more than watching yourself in a mirror, because it builds the feel of the movement rather than just the look of it.
Signs you should stop a set immediately versus normal muscle fatigue
Normal muscle fatigue feels like a dull, generalized burn or heaviness in the muscle you’re working. It builds gradually across the set and eases within a minute or two of resting. That is a normal, expected part of strength training.
Stop the set immediately if you notice any of the following:
- A sharp, localized pain in a joint rather than a muscle
- Pain that spikes suddenly mid-rep, rather than building gradually
- Any clicking or catching sensation accompanied by pain (clicking alone, with no pain, is common and usually not a concern)
- Numbness or tingling anywhere in the arm or hand
- Pain that lingers or worsens after the set ends, rather than easing with rest
If any of these happen, stop, rest, and reassess before continuing. If a sharp pain shows up again with the same movement on a different day, that’s worth mentioning to a doctor or physical therapist before you keep working around it. An old joint issue flaring up during a new exercise is useful information, not a failure.
Setting up a safe lifting space in a small room at home
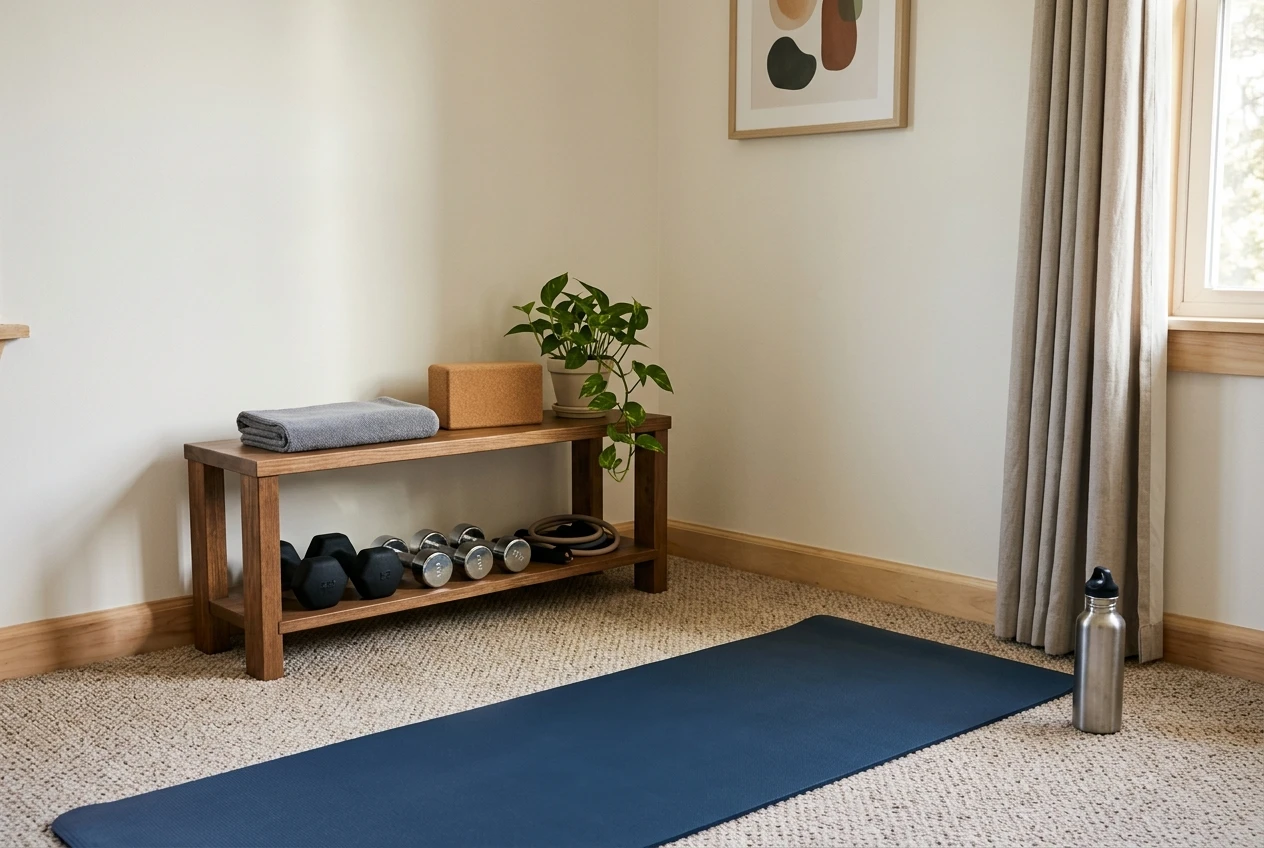
Most home injuries during strength training happen not from the weight itself, but from the space around it. A cramped, cluttered area increases the chance of catching a dumbbell on furniture or losing your footing mid-rep.
A few basics that make a real difference:
- Clear a space at least the length of your arms extended in every direction, including overhead if you’re doing any pressing movements
- Use a firm, flat surface. Thick carpet can shift your footing slightly during standing exercises, so a yoga mat or exercise mat over carpet, or a bare floor, works better than carpet alone
- Keep dumbbells on the floor or a low shelf when not in use, not balanced on furniture where they could roll or fall
- Wear shoes with a flat, stable sole, or go barefoot. Avoid thick-cushioned running shoes for lifting, since they can make your footing feel less stable under load
- Keep water nearby so you’re not stepping away mid-session and losing your setup or your focus
If your space is genuinely small, prioritize movements that don’t need a wide range of motion over ones that do, and save floor-based or wider movements for when you have a bit more room. The goal is a space where you can move through a full rep without hesitating about what’s beside you.
How fast is too fast: a safe week by week way to add weight
A reasonable guideline is to add weight only once you can complete all your sets and reps with good form, and the last two reps still feel challenging but controlled, for two consecutive sessions.
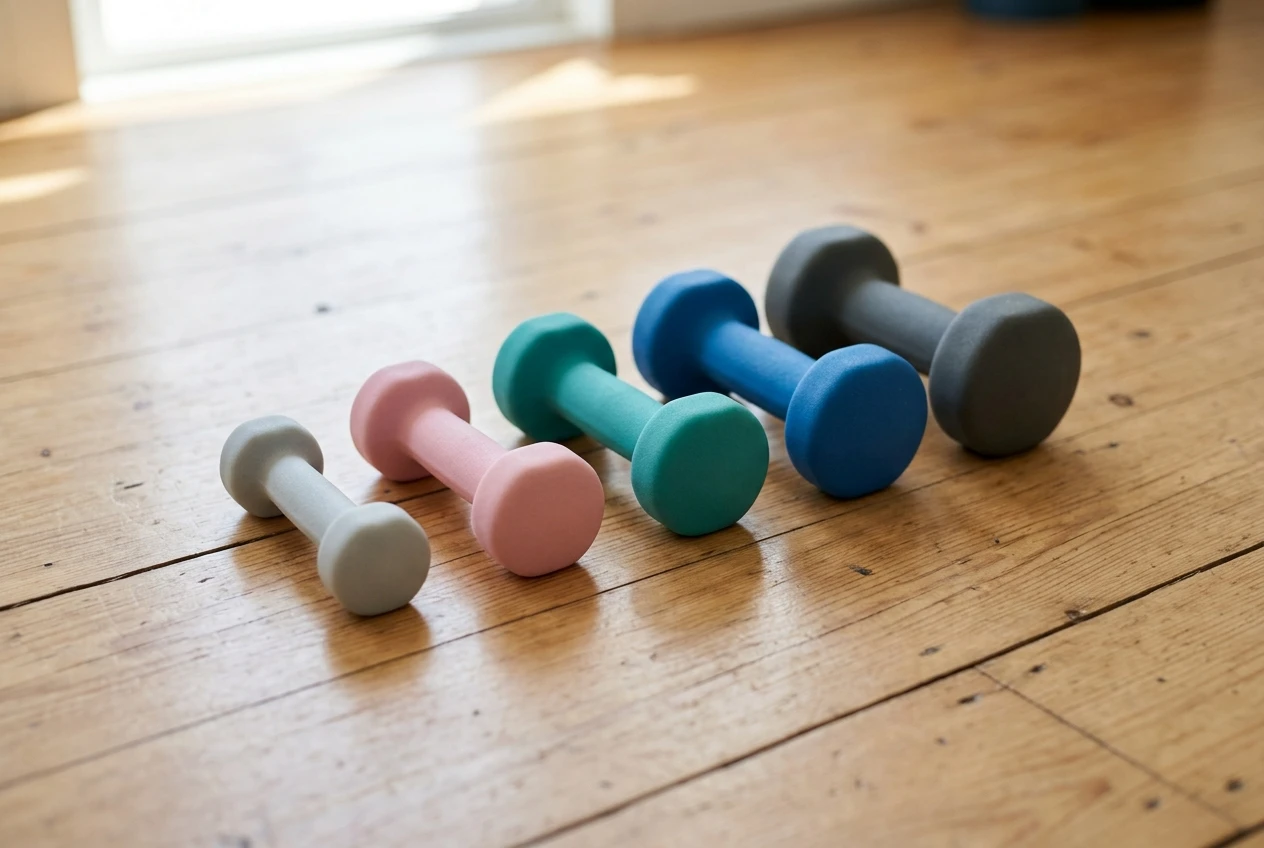
When that happens, increase the weight by the smallest amount available to you, often half a pound to a pound for lighter dumbbells, and expect the new weight to feel noticeably harder again. That’s normal and means you’re progressing, not that you went up too fast.
As a rough pace, many beginners can add weight every two to three weeks for a given exercise, though this varies by movement and by joint. Pressing movements, which load the shoulder, often need slower progression than something like a seated row. If you’re ever deciding between adding weight or adding a rep, add the rep first. An extra rep at a weight you’ve already mastered is safer than a weight you haven’t mastered yet.
Patience here pays off. A joint that’s given a few extra weeks to adapt tends to stay pain-free far longer than one that’s rushed.
If you’re still working out exactly what dumbbells and safety gear suit a beginner home setup like yours, the home workout gear that actually protects your joints walks through what to buy and what you can skip entirely.