Low impact doesn’t mean low stress on the joints. A step class, a long walk, or a body-weight circuit can still load the knees, hips, and wrists thousands of times in a single session, and the difference between gear that helps and gear that just looks the part shows up fast once you’re 40 and your joints are asking for a bit more consideration. This guide walks through what the best workout gear for joint pain over 40 actually looks like in each category, so you can spend on the few things that make a real difference and skip the rest.
Why Low Impact Training Still Puts Stress on Your Joints
Low impact simply means one foot, or more, stays on the ground at all times. It doesn’t mean the joint stops working. Every squat, lunge, and step still sends force through the knees and hips, and every push-up or plank loads the wrists.
What changes with low impact training is the amount of jarring, repetitive pounding, not the total demand on the joint. That’s good news for anyone managing joint pain, but it also means the gear you choose still has a job to do: absorbing shock, stabilizing a joint under load, and giving you a stable surface to push against. If the surface or support is wrong, the joint compensates, and that’s usually where the ache starts. If you want the fuller case for why this style of training suits this decade of life so well, why low impact strength training is best after 40 covers that ground.
Supportive Shoes: The One Purchase Worth Getting Right
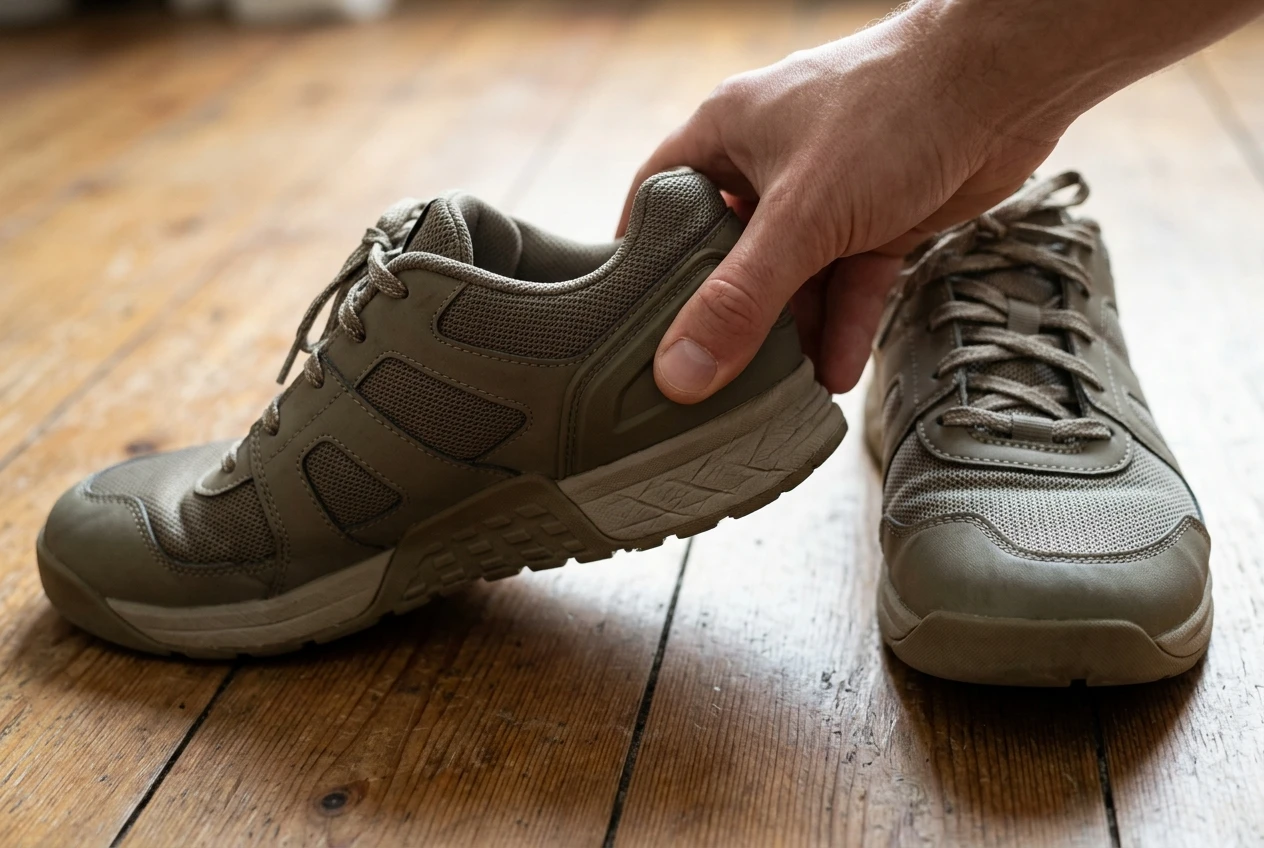
If you only upgrade one thing, make it your shoes. Most knee and hip discomfort during low impact training traces back to footwear that’s too worn, too flat, or built for the wrong kind of movement.
Look for:
- A firm heel counter that doesn’t collapse when you squeeze it, so your ankle doesn’t roll during lateral steps.
- Cushioning in the mid-sole that still lets you feel the ground, rather than a soft, unstable pillow that makes balance harder.
- A true size and width, since swelling or wider feet later in life often means sizing up from what you wore at 30.
- Replacement around 300 to 500 miles or months of regular use, because worn-out cushioning stops absorbing shock long before the shoe looks damaged.
Cross-training shoes or stability walking shoes tend to work better for low impact routines than running shoes, which are built for forward motion rather than side-to-side steps and standing work.
Compression Sleeves for Knees and Wrists: When They Actually Help
Compression sleeves aren’t magic, but they’re not nothing either. The honest answer is that they help some people with mild, activity-related discomfort by improving proprioception, your joint’s sense of where it is in space, and by giving a small amount of external support during movement.
They’re worth trying if:
- You feel unstable or slightly loose in a knee or wrist during specific movements, not sharp or constant pain.
- Your doctor or physical therapist has cleared the joint for activity and simply suggested extra support.
- You want a bit more confidence on days the joint feels a little tender, without changing your whole routine.
They’re not a substitute for addressing actual pain, swelling, or an injury that needs medical attention. If a sleeve is masking something that needs rest or a proper diagnosis, it’s doing more harm than good. Fit matters too: too tight cuts circulation, too loose does nothing.
Resistance Bands: Handled vs Loop, and Why It Matters for Sensitive Joints
Bands are one of the best tools for low impact strength work, but the type you choose changes how much strain lands on your wrists and shoulders.
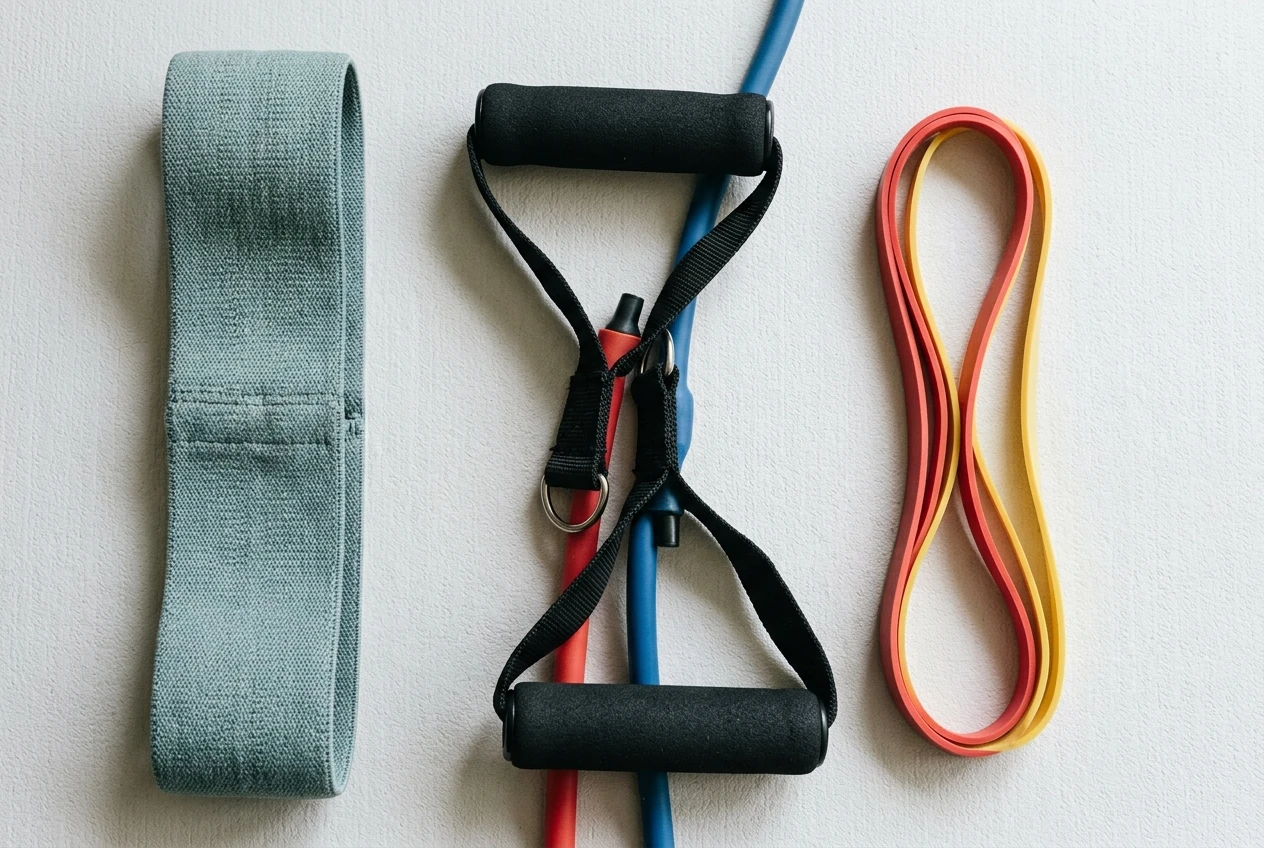
Loop bands, the continuous circles, are generally better for lower body work like glute bridges, lateral walks, and hip exercises, since they don’t require gripping and twisting at the wrist. Handled bands give you more range for upper body pulls and presses, but cheap handles with thin, stiff grips can aggravate wrist or thumb joints over time, especially if you already deal with some stiffness there.
A few practical notes:
- Fabric loop bands sit more comfortably on skin and don’t roll or pinch the way thin rubber loops can.
- Handled bands with padded, slightly thicker grips put less pressure through the small joints of the hand.
- Check bands regularly for small tears near the attachment points, since a snapped band under tension is a real injury risk, not just an inconvenience.
A set with a few resistance levels in each style covers most low impact strength routines without needing a drawer full of options.
Cushioned Mats and Flooring That Take the Impact Off Your Body
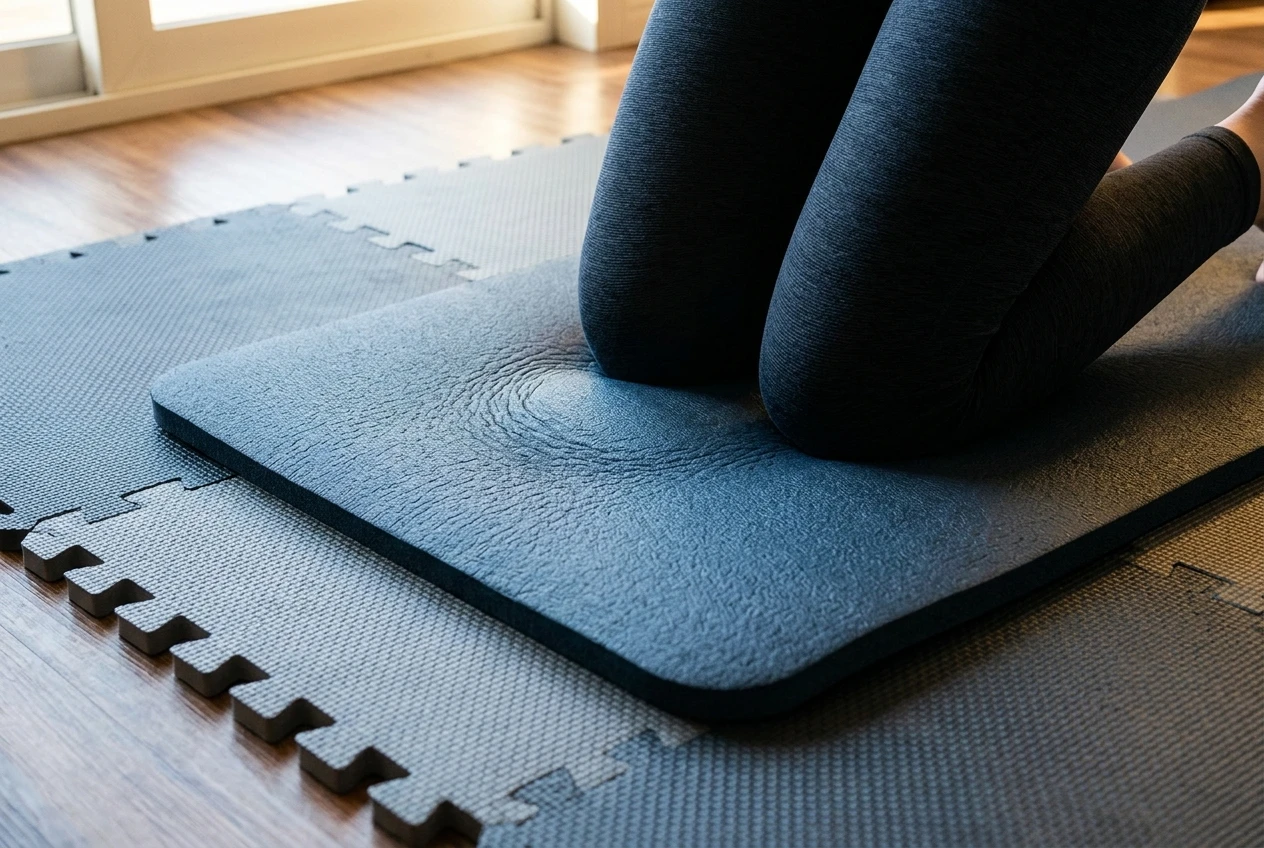
A thin yoga mat is fine for stretching, but it’s not enough cushioning for kneeling work, floor-based strength moves, or standing cardio on a hard floor. Knees and wrists take the brunt of a mat that’s too thin.
For joint-friendly flooring, look for:
- At least 10mm to 15mm of thickness for floor work that involves kneeling or hands-and-knees positions.
- Closed-cell foam, which stays firm enough for stability rather than sinking and making balance harder.
- A non-slip surface on both sides, since a mat that slides on a hard floor undoes any cushioning benefit.
If you’re doing a lot of standing work, interlocking foam tiles under the mat, or instead of one, can take pressure off the hips and lower back as well as the knees, particularly on concrete or tile flooring.
Foam Rollers and Recovery Tools Worth Adding
Recovery tools don’t prevent joint stress during training, but they help the muscles and tissue around a joint recover between sessions, which matters more as the body takes a little longer to bounce back.
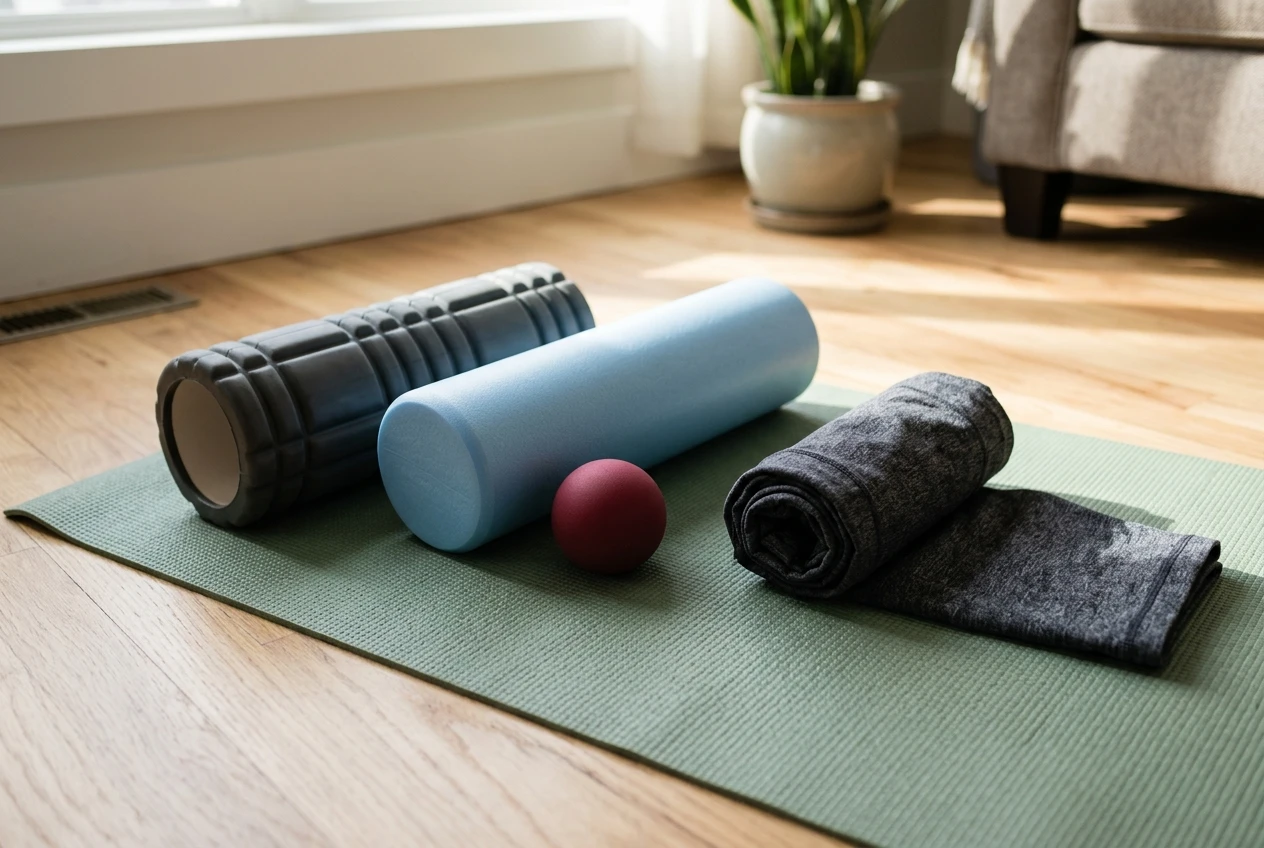
A basic foam roller is worth having for rolling out the quads, calves, and upper back. For anyone sensitive to firmer pressure, a softer density roller is a better starting point than the firm, textured kind made for athletes already used to deep pressure.
A massage ball, around lacrosse ball size, is useful for smaller areas like the glutes or shoulders that a roller can’t reach well. Beyond that, most recovery gadgets, like percussion massage guns, are genuinely optional rather than essential. They can feel good, but they’re not solving a joint problem a roller and some mobility work won’t also address. For a simple, no-equipment way to support joints after training, the 10 minute stretch routine to do after every workout covers the moves that matter most.
Gear That Sounds Joint Friendly but Usually Isn’t Worth It
Some products are marketed heavily toward joint pain and low impact training without actually delivering much. Worth being skeptical of:
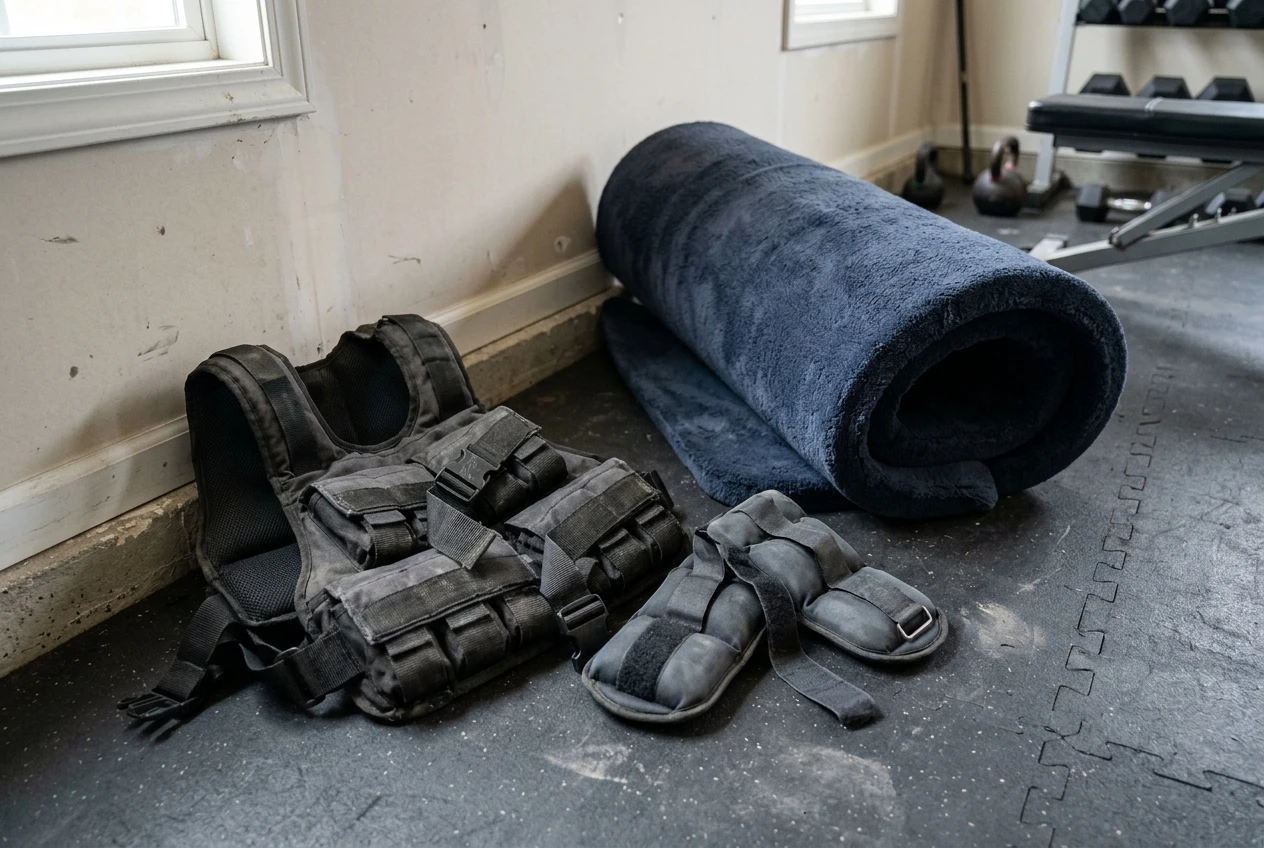
- Weighted vests for beginners. They add load through the spine and knees before the joints are ready for extra weight, which usually works against the goal of protecting them.
- Ultra-soft, thick “cloud” mats. Too much give makes balance harder and can actually increase strain on the ankles and knees during standing exercises.
- Copper-infused compression wear. The compression can help; the copper claims generally aren’t backed by meaningful evidence.
- Vibration plates sold as a joint pain fix. They’re a training tool, not a therapeutic device, and they’re not necessary for a solid low impact routine.
- Ankle weights for walking. They change your gait and put uneven strain on the hips and knees rather than building strength safely.
None of these are dangerous in small doses, but they’re not where the budget should go if the goal is protecting joints during training.
Putting Together a Joint Friendly Kit Without Overspending
A joint-friendly starter kit doesn’t need to be expensive or extensive. A pair of properly fitted supportive shoes, a mat with real cushioning, one or two loop bands and one padded handled band, and a basic foam roller cover almost everything a low impact routine requires. Compression sleeves are worth adding only if a specific joint needs the extra support.
If you’re also setting up strength equipment at home, the best adjustable dumbbells for a small home gym after 40 is a good place to compare options built for the same kind of careful, joint-aware training.
Once your gear is sorted, pair it with the 20 minute morning strength routine to put it to use.